How to: Create your own Ikebana arrangement
As we celebrate gardens big and small, and greenery in all shapes and sizes, we cannot think of a more fitting practice than Ikebana to highlight the beauty of nature.
Ikebana is the Japanese art of flower arranging, which aims to celebrate all flowers in all their forms – from birth to decay. Ikebana is an art form that invites you to consider each placement, the story every natural element can tell and serves as a reminder of fleeting beauty. Each arrangement is appreciated, placed with care and celebrated in each stage of deterioration.

Belinda and her flower elements.
We spent an inspiring morning with Cape Town Ikebana teacher, Belinda Soboil, in order to learn the basics of Ikebana. With these easy and simple steps, you too can appreciate the greenery around you this Garden Day with a beautiful Ikebana arrangement. What’s more, there’s no need to purchase flowers or big bouquets. Ikebana elements can be found everywhere. The key is to see the beauty in all of nature.
Here Belinda shares the steps to create the Hano-isho Rising Form in a Low Bowl, an arrangement that gives maximum effect with minimum plant material.
What you’ll need
A Bowl: Any shallow bowl may be used for this. The bowl size will dictate the plant material you can use.
A kenzan (pin holder): You will find kenzans online, or keep your eyes open for them in any antique shop.
Choose your floral elements
First, choose the combination of materials that you’ll use. Eventually, and with practice, you as the student will grasp and add importance to each element.
Subject Branch material: Your branch needs to be double the diameter and height of your bowl.
Object Flower material: This flower needs to be 1/3 of your Subject.
Filler material: The role of Filler Material is to connect your branch and flower choices visually.
Your steps to create your Ikebana arrangement
The kenzan is placed in the centre of the container if it is a small bowl. In a larger bowl, it is better to move it more to the front centre of the container.
Add water to the bowl.

Belinda’s placement of the kenzan in her bowl.
Step 1
Insert your Subject at the back of the kenzan.
It can be placed straight up, leaned forward or backwards, towards the right or left, within a circular area of an imaginary cone in which the sides slant upwards 20 degrees from the perpendicular. Your material will dictate.

The Subject is placed.
Step 2
Insert your Object in front of your branch and bring the flower forward by 45 degrees.
The angle is 45 degrees forward from the vertical and can move 20 degrees either to the left or right of the subject.

Secondly, the Object is placed.
Step 3
Add your Filler. Fillers can come between the two main stems and also behind the subject, or below the object in front.
A cascade filler to the front softens the rim of the container. By placing all stems one behind the other we get a compact base which gives the appearance of the branches all coming from one point.

The Filler.
In this Rising Form, it’s important to emphasise the rising form, therefore, not too much sideways movement in the arrangement.

The final arrangement.
And there you have it!
Your first Ikebana arrangement using what you have at home. This Garden Day, pour a cup of tea and spend a quiet moment appreciating the greenery around you. We hope the stillness and focus is a self-care moment that you practice regularly.
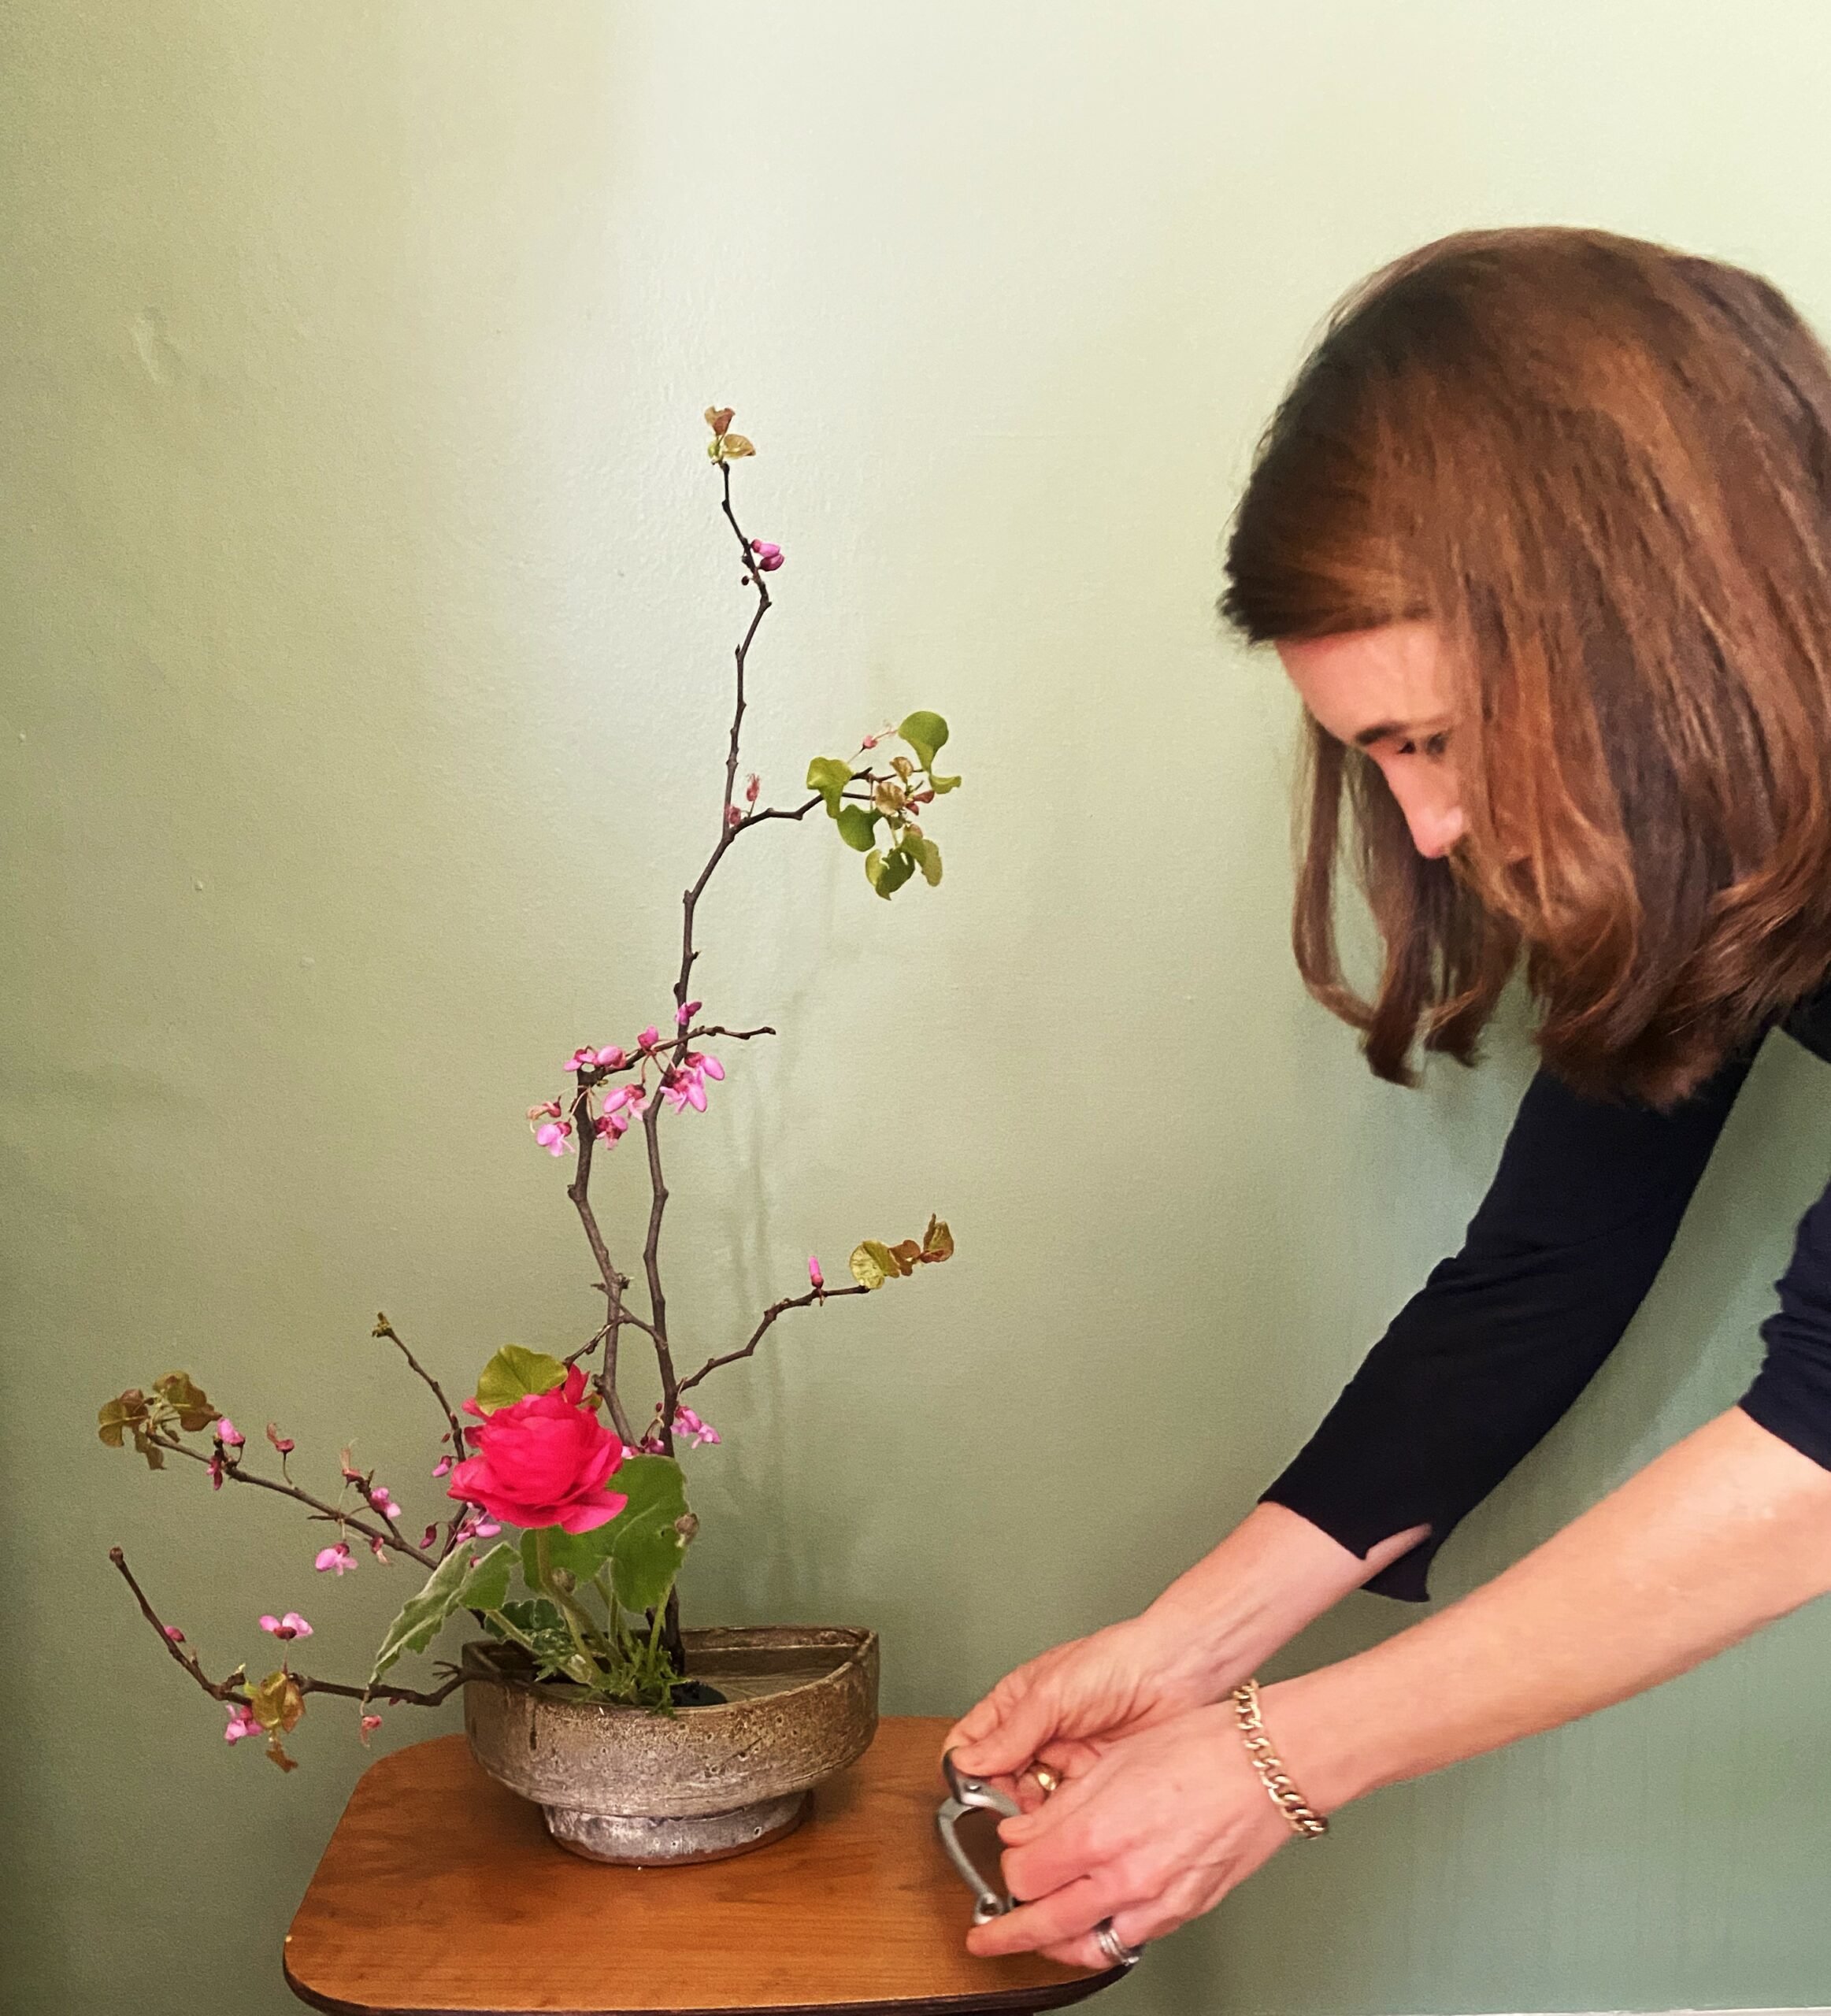
Belinda placed her scissors next to her arrangement. This is done after an arrangement so that an Ikebana Master can come and make the last adjustments to an arrangement – if necessary.